Breaking into a new market isn’t easy but coming prepared with our best foot forward and the right tools can help. Garney recently interviewed with Truckee Meadows Water Authority (TMWA), and the team faced various obstacles to overcome—including the need for our interview team to think on their feet and be prepared for all scenarios during a 60-minute Q&A. Having limited knowledge of the potential questions and topics going into interview prep, our team implemented a simple way to navigate PowerPoint, which allowed the interviewees quick access to pre-defined hot buttons.
How to Create a Button Menu for Easy Topic Navigation
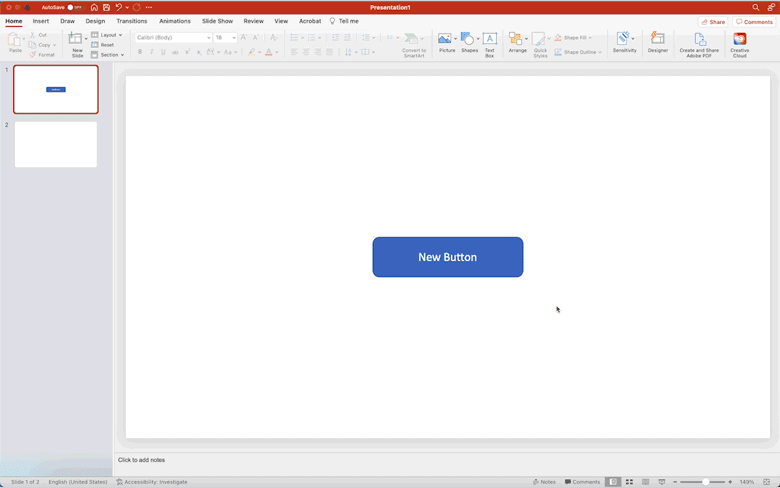
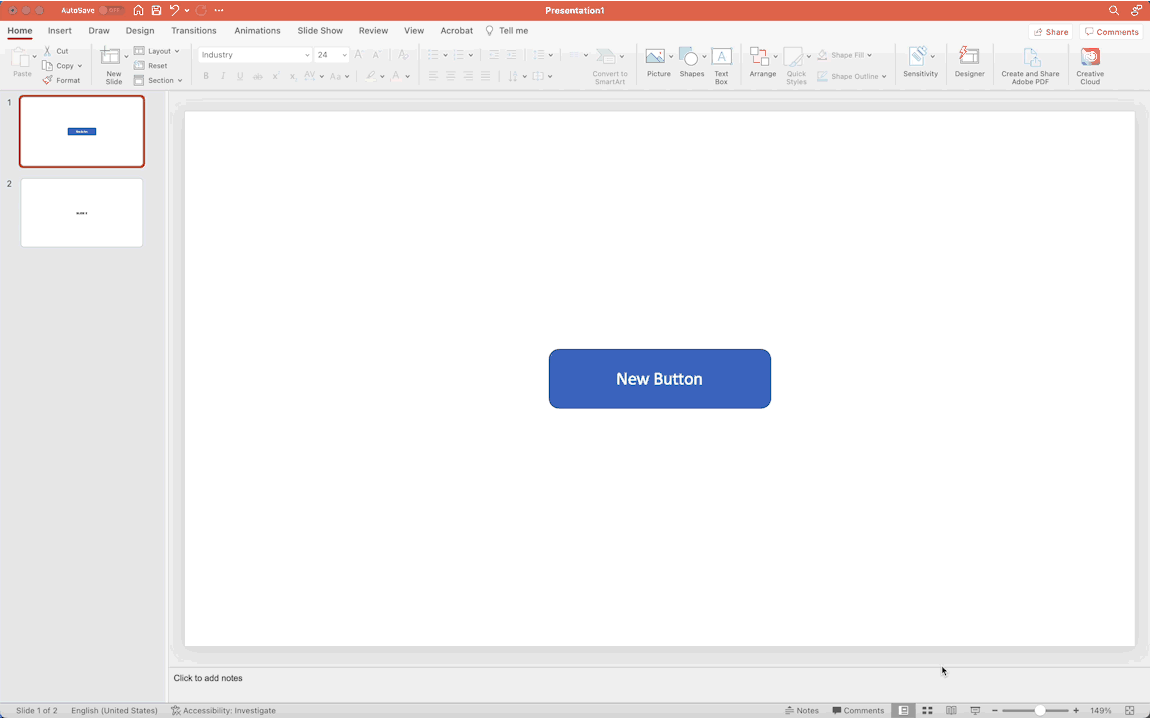
STEP 1 // CREATE YOUR BUTTON
From the Shapes drop-down in the Home ribbon select the shape of your button and draw it on your slide.
STEP 2 // NAME YOUR BUTTON
Double-click on your button and give it a unique name based on the content you will be linking to.

STEP 3 // CREATE YOUR BUTTON ACTION
Right-click on your button and choose “Action Settings…” From the Actions Settings menu click “Hyperlink To:” and choose “Slide…” from the drop-down menu. Finally, choose the slide that you would like your button to link to.
STEP 4 // TEST YOUR BUTTON
Now, when played in presentation mode, your button will take you to your linked slide when it is clicked on.
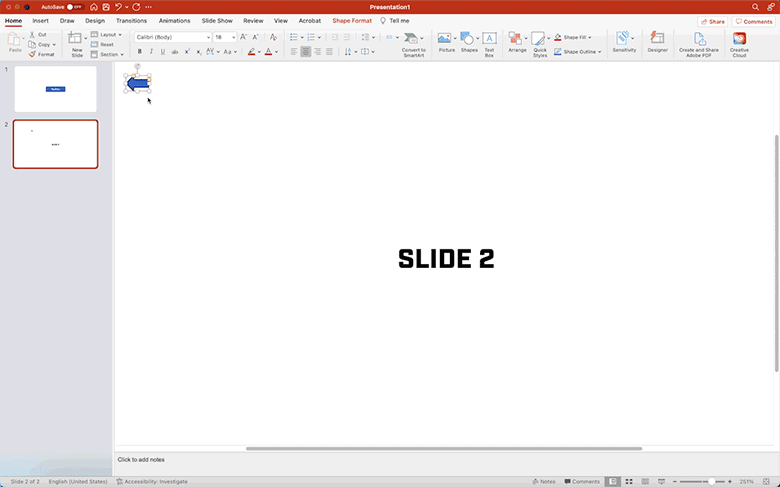
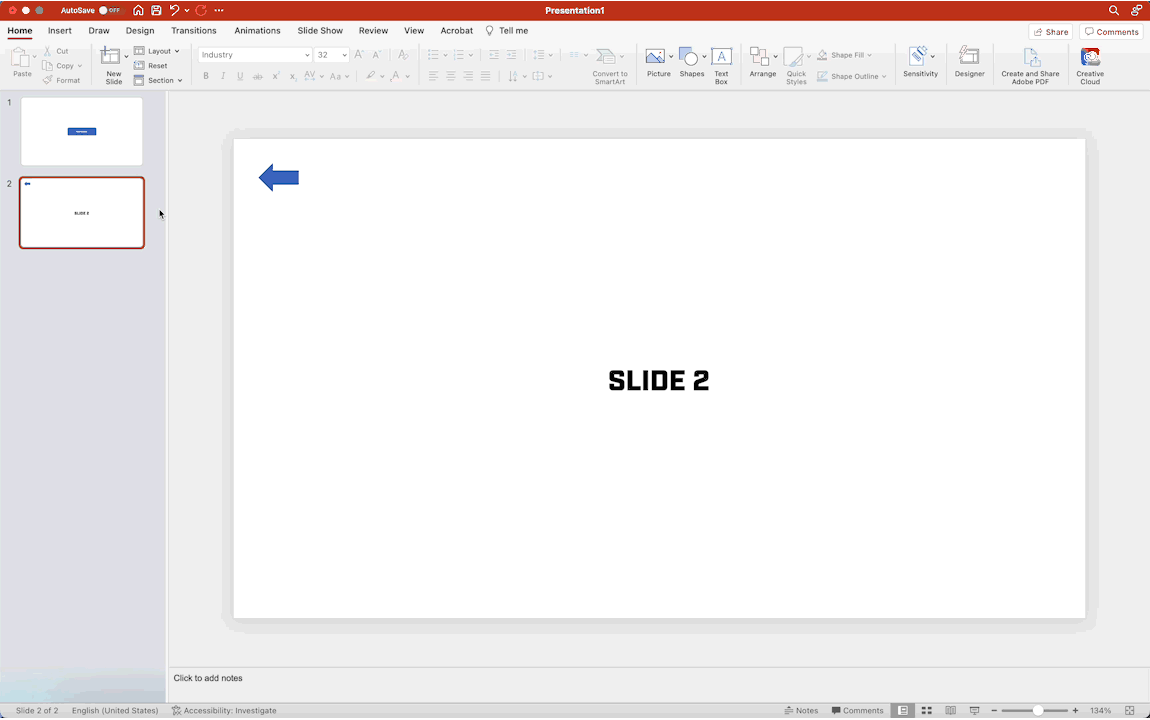
STEP 5 // CREATE A BACK BUTTON
It’s important to create a back button on your linked slides so you can easily navigate back to your Q&A menu. To do this, simply repeat step one to create an arrow shape on your slide.
STEP 6 // CREATE YOUR BACK BUTTON ACTION
Repeat step 3 to create the action for your back arrow to navigate you back to your Q&A menu. This time, choose your Q&A menu slide to link to.
STEP 7 // REVIEW YOUR RESULTS
Both buttons should now be working. You can repeat this step to create multiple buttons on your menu slide and link those to different slides in your PowerPoint deck.
PRO TIP
Once you’ve created your back button for one slide you can copy and paste it to all your menu slides! No need to repeat this step every time you add a new menu slide.
What should you consider before using this feature in your pursuit interview?
If the following apply to your presentation, this may be a great option for your team:
- There is a lengthy Q&A where a discussion of various hot buttons is anticipated
- The questions may include project-specific aspects or scope items that can be further explained using a visual
- There is someone who can navigate the PowerPoint on a computer during the interview (This feature DOES NOT work with a standard presentation clicker. You must use a mouse to select your button on the menu slide)
- The allotted presentation time is limiting and not all desired content can be addressed in the upfront slide deck